
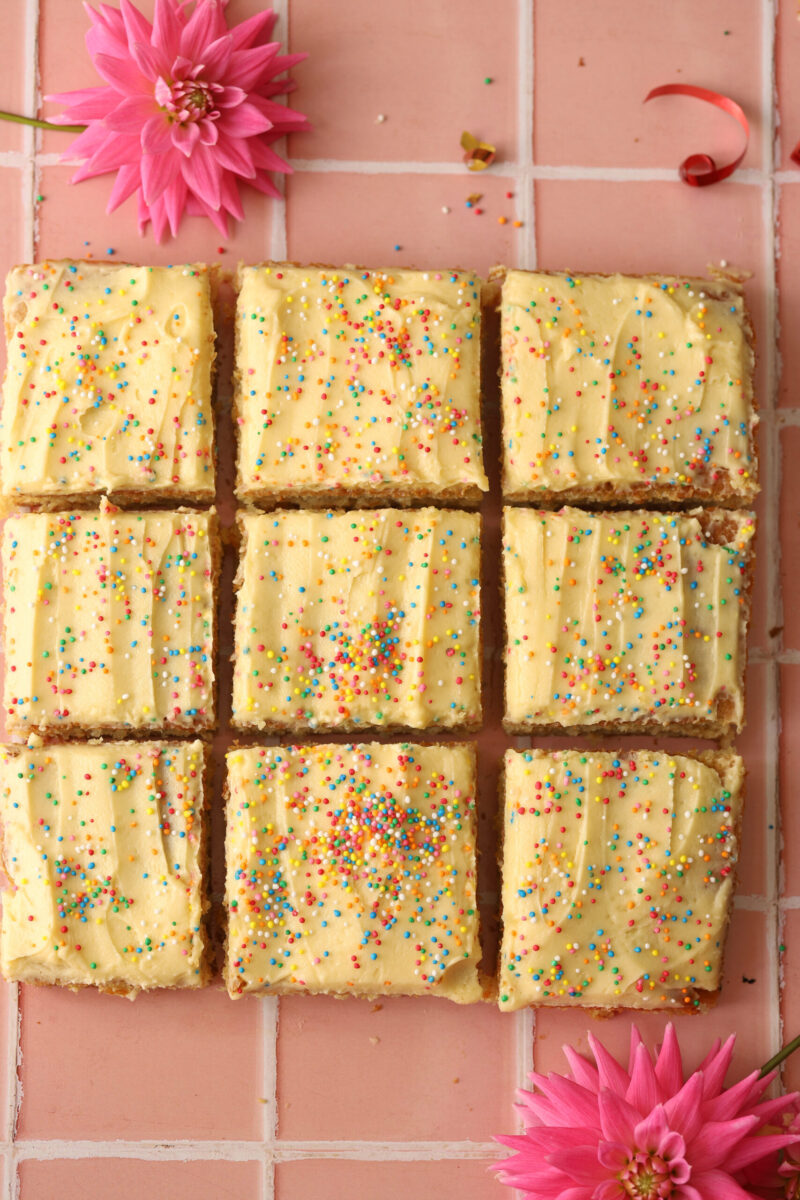
This moist vanilla sheet cake (the best!) is made from scratch with just a handful of ingredients. It has a tender, soft crumb, creamy frosting, and colorful sprinkles. Whether it's a school bake sale, a birthday party, or a treat-yourself moment, this tray bake promises to bring smiles all around.

It's party time 🥳
This moist vanilla cake will transport you back to the days of childhood parties.
With its fluffy texture and creamy frosting, this vanilla cake has simple ingredients and is budget-friendly. It is also egg-free,
I love making cakes for special occasions, like my Dairy-Free Cup Cakes, Chai cake, Banana Cream Cake , Matcha Cheesecake , or Yogurt Plum Cake. 🎉

❤️ WHY I LOVE THIS MOIST VANILLA CAKE RECIPE
Simple, Straightforward Ingredients: Gone are the days of complicated recipes requiring a laundry list of obscure ingredients. No need for six eggs or hard-to-find items—just basic pantry staples like flour, sugar, and vegetable oil come together to create this cake.
Nostalgic: This tray bake will take you back to the days of school bake sales and birthday parties. 🎈
Vegan-Friendly (Dairy-Free and Egg-Free): Whether you're a committed vegan or simply looking to explore plant-based baking, this recipe is a winner.
🤓 RECIPE TESTING
Your choice of plant-based milk can indeed have an impact on the overall texture and flavor of the cake.
I tested this recipe with three different plant-based milk options as well as regular cow's milk.
I loved all of the final results, and it was difficult to choose a favorite. This is how I found the milk to affect the final product.
ALMOND MILK: It produced a slightly lighter and airier cake texture. The cake was more delicate and crumbly, with a soft and tender sponge.
SOY MILK: Soy milk has a slightly creamier texture compared to almond milk; it was denser and more moist. It also had a firmer crumb.
OAT MILK: Oat milk produced a cake with a tender and moist crumb, similar to when I made it with traditional dairy milk.
🐄 COWS MILK: This cake had a soft and delicate texture; it was slightly denser compared to plant-based milk alternatives.

🥄 INGREDIENTS NEEDED AND SUBSTITUIONS
MILK OF CHOICE: Soy, almond, oat milk, or regular milk
WHITE VINEGAR: Or apple cider vinegar
ALL-PURPOSE FLOUR: "Plain flour"
WHITE GRANULATED SUGAR: You can use castor sugar.
BAKING POWDER: This helps the cake rise.
BAKING SODA: Don't leave this out.
SALT: Adds a little flavor
VEGETABLE OIL: Canola oil or light olive oil will work.
VANILLA EXTRACT: This adds so much flavor.

FOR THE BUTTERCREAM
BUTTER: Or vegan butter
POWDERED SUGAR (ICING SUGAR)
VANILLA EXTRACT
SPRINKLES

👩🏼🍳 STEP-BY-STEP INSTRUCTIONS
Note: Please scroll to the full printable recipe card at the bottom for ingredient quantities and the method.
Preheat and Prep: Preheat your oven to 350°F (175°C). Grease and flour an 8x8-inch square baking pan or line it with parchment paper for easy removal.
Create Buttermilk: In a small bowl, mix together the milk and vinegar. Let it sit for a few minutes until it curdles slightly. This homemade buttermilk will add moisture and tenderness to our sponge.


Mix Dry Ingredients: In a large mixing bowl, combine the sifted flour, sugar, baking powder, baking soda, and salt. Whisk them together until well incorporated.
Blend Wet Ingredients: To the bowl of buttermilk, add the vegetable oil and vanilla extract. Whisk until everything is nicely combined.


Combine Wet and Dry: Pour the wet ingredients into the bowl of dry ingredients. Using a spatula or wooden spoon, gently fold until you have a smooth batter. Be careful not to overmix.
Bake: Transfer the batter to the prepared baking pan, spreading it out evenly. Pop it into the preheated oven and bake for 25-30 minutes, or until a toothpick inserted into the center comes out clean.

🧁 HOW TO MAKE THE FROSTING
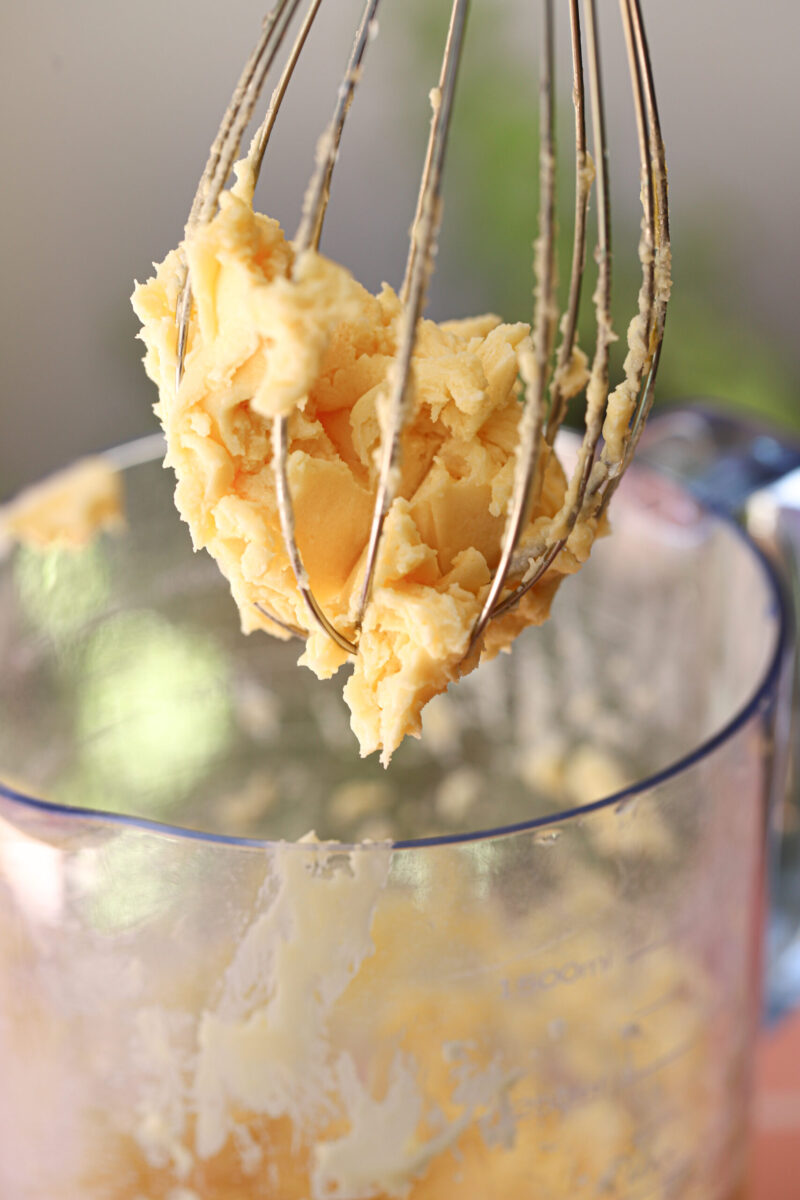
Cool and Ice: Once baked, let the cake cool completely in the pan on a wire rack. Meanwhile, prepare the icing by creaming together the softened butter, powdered sugar, and vanilla extract. If the icing seems too thick, add a teaspoon of milk at a time until you reach your desired consistency.
Decorate: Once the tray bake has cooled, spread the creamy icing over the top. Then, unleash your inner artist and sprinkle those colorful sprinkles!
Slice and Serve: Slice the tray bake into squares.
📝 TIPS AND TRICKS
Measure Accurately: Baking is like a science, so measure your ingredients accurately.
Room Temperature Ingredients: Allow your butter to come to room temperature before using it to make the icing. This helps ensure a smooth texture.
Don't Overmix: When combining the wet and dry ingredients, be careful not to overmix the batter. Overmixing can lead to a tough and dense cake. Instead, gently fold the ingredients together until just combined for a tender and fluffy texture.
Properly Prepped Pan: Whether you're greasing and flouring your pan or using parchment paper, make sure it's properly prepped to prevent the cake from sticking. This ensures easy removal.
Cool Completely: Allow the tray bake to cool completely in the pan on a wire rack before icing. Rushing this step can cause the icing to melt and slide off the cake.
Icing: If the icing is too thick, it will be difficult to spread, while if it's too thin, it may slide off the cake. If you are looking for a fun, bright icing idea, then take a look at this pink cake recipe.
Get Creative with Sprinkles: Let your imagination run wild when it comes to decorating with sprinkles! Experiment with different colors, shapes, and sizes to create a visually stunning masterpiece that's as fun to look at as it is to eat.

❓ FAQS
This will make one 8-inch round cake.
You can easily turn this into 12 delicious cupcakes. Just keep an eye on them as they will need less time in the oven. I would check them around the 20-minute mark.
Yes, make sure your milk is dairy-free and that you use dairy-free butter for the frosting.

💫 MAKE-AHEAD AND STORAGE
MAKE-AHEAD:
You can definitely make the Vegan Vanilla Sponge Tray Bake ahead of time, which is fantastic for planning ahead for parties or events. Here's how you can do it:
- Bake the Cake: Follow the recipe instructions to bake the tray bake as directed. Once baked, let it cool completely in the pan on a wire rack.
- Wrap and Store: Once the tray bake has cooled, carefully remove it from the pan and wrap it tightly in plastic wrap or aluminum foil. Make sure it's completely covered to prevent it from drying out.
- Refrigerate or Freeze: You have two options for storage:
- Refrigeration: You can store the wrapped tray bake in the refrigerator for up to three days. This is ideal if you plan to serve it within a few days.
- Freezing: Alternatively, you can freeze the wrapped tray bake for longer-term storage. Place it in the freezer, and it will keep for up to a month. When you're ready to enjoy it, simply thaw it overnight in the refrigerator.
- Thaw and Decorate: If you've refrigerated or frozen the tray bake, be sure to allow it to come to room temperature before decorating with icing and sprinkles. Once thawed, you can proceed with icing and decorating as usual.
- Serve and Enjoy: Once decorated, slice into squares and serve.
STORAGE:
Store any leftovers (if there are any!) in an airtight container at room temperature for up to three days.

Did you make this recipe? Let me know what you think by leaving a ★★★★★ star rating & comment below. It genuinely helps me & I really appreciate your support! Nikki 💚
Print
MOIST VANILLA SHEET CAKE (THE BEST!)
- Total Time: 30 min Prep Time + 35 min Bake time = 65 min Total Time
- Yield: 1 8-inch square cake 1x
- Diet: Vegan
Description
This moist vanilla sheet cake (the best!) is made from scratch with just a handful of ingredients. It has tender, soft crumb, creamy frosting, and colorful sprinkles. Whether it's a school bake sale, a birthday party, or a treat-yourself moment, this tray bake promises to bring smiles all around.
Ingredients
250 ml milk of choice (1 cup) I like using almond or soy milk but regular milk is fine.
1 tablespoon white wine vinegar
210 grams of all-purpose flour (1 ½ cups)
150 grams white granulated sugar (¾ cup)
2 teaspoons baking powder
½ teaspoon baking soda
¼ teaspoon salt
80 ml vegetable oil (⅓ cup)
1 tablespoon vanilla essence
FOR THE BUTTERCREAM FROSTING
115 g butter, softened (½ cup)
250 grams powdered sugar (icing sugar)
2 teaspoons vanilla extract
Sprinkles 🌈
Instructions
Preheat and Prep: Preheat your oven to 350°F (175°C). Grease and flour an 8x8-inch square baking pan or line it with parchment paper for easy removal.
Create Buttermilk: In a small bowl, mix together the milk and white vinegar. Let it sit for a few minutes until it curdles slightly. This homemade buttermilk will add moisture and tenderness to our sponge.
Mix Dry Ingredients: In a large mixing bowl, combine the sifted flour, sugar, baking powder, baking soda, and salt. Whisk them together until well incorporated.
Blend Wet Ingredients: To the bowl of buttermilk, add the vegetable oil and vanilla extract. Whisk until everything is nicely combined.
Combine Wet and Dry: Pour the wet ingredients into the bowl of dry ingredients. Using a spatula or wooden spoon, gently fold until you have a smooth batter. Be careful not to overmix.
Bake: Transfer the batter to the prepared baking pan, spreading it out evenly. Pop it into the preheated oven and bake for 25-30 minutes or until a toothpick inserted into the center comes out clean.
HOW TO MAKE THE FROSTING
Cool and Ice: Once baked, let the cake cool completely in the pan on a wire rack. Meanwhile, prepare the icing by creaming together the softened butter, powdered sugar, and vanilla extract. If the icing seems too thick, add a teaspoon of milk at a time until you reach your desired consistency.
Decorate: Once the cake has cooled, spread the creamy icing over the top and sprinkle those colorful sprinkles!
Slice and Serve: Slice the tray bake into squares.
Notes
Don't Overmix: When combining the wet and dry ingredients, be careful not to overmix the batter. Overmixing can lead to a tough and dense cake. Instead, gently fold the ingredients together until just combined for a tender and fluffy texture.
Properly Prepped Pan: Whether you're greasing and flouring your pan or using parchment paper, make sure it's properly prepped to prevent the cake from sticking. This ensures easy removal.
Cool Completely: Allow the traybake to cool completely in the pan on a wire rack before icing. Rushing this step can cause the icing to melt and slide off the cake.
Icing: If the icing is too thick, it will be difficult to spread, while if it's too thin, it may slide off the cake.
Room Temperature Ingredients: Allow your butter to come to room temperature before using it to make the icing. This helps ensure a smooth texture.
- Category: Baking, Desserts, Cakes
- Method: Baking
- Cuisine: American


Nikki says
Let me know if you have any questions. Nikki
Sharon Nash-Jones says
Made this three times already !!
Last time I ran out of icing and just spread strawberry jam on top.
Excellent
Nikki says
So glad you loved it. Thanks for the lovely comment. Nikki
Judy says
Well-written article!
I really liked the way you covered this subject.
It’s really good to find helpful information like this online.
Thanks for posting.
Looking forward to reading more!