
This Bacon and Cheese Quiche made with Rice Paper is crispy, cheesy, and so quick and fuss-free to make. Forget traditional pastry, rice paper makes a crustless quiche that’s golden, and makes the perfect mini quiche for brunch, a delicious breakfast, or even a savory snack.
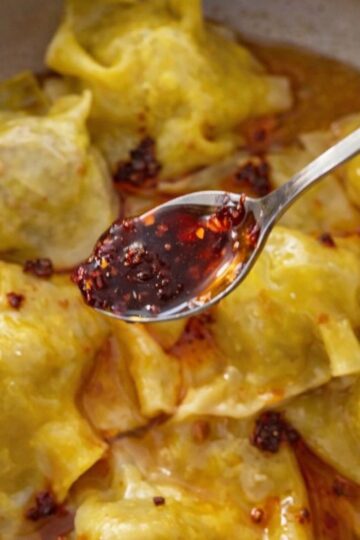
P.S. I think you will love my viral dumpling recipe next!
Be sure to check out the video and tips below. 👇

Who needs pastry when you can use rice paper! 🪄
Jump to:
❤️ WHY YOU WILL LOVE THIS RECIPE
- ✔️ Crispy base without the fuss of traditional pastry
- ✔️ Packed with cheddar cheese, spinach, and bacon
- ✔️ The perfect mini quiche
- ✔️ Easy and quick — ready in just 40 minutes
- ✔️ Perfect for home-made breakfast, brunch, or savory snack
- ✔️ Air fryer friendly.
🎥 MY LATEST VIDEO
🥄 INGREDIENTS NEEDED
3 RICE PAPERS
1 EGG, BEATEN.
FOR THE FILLING
2 EGGS
80 G THICK YOGURT
60 G SHREDDED CHEESE
A SMALL HANDFUL OF BABY SPINACH
COOKED, CRISPY BACON PIECES.
👩🏼🍳 STEP-BY-STEP INSTRUCTIONS
Note: Please scroll to the full printable recipe card at the bottom for ingredient quantities and the method
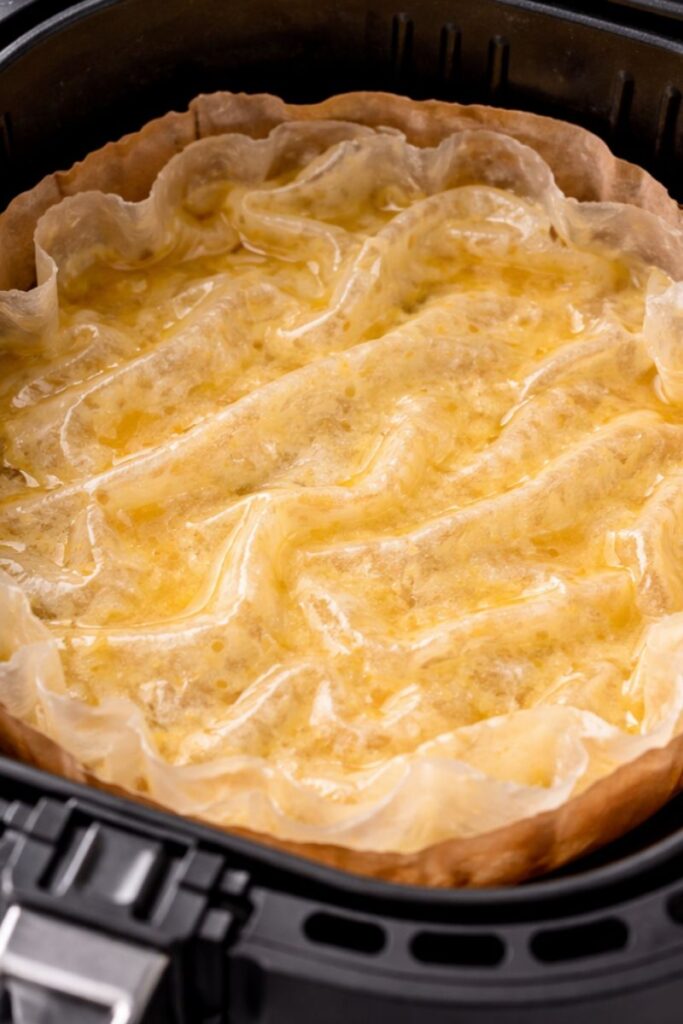
Step 1: Prepare the Rice Paper Crust
Preheat your oven to 190°C (375°F).
Dip the rice papers one by one into the beaten egg until soft and pliable.
Layer the soaked rice papers in your mini quiche tin or pie dish to form a base.
Bake for 10 minutes until slightly golden and firm.
Step 2: Mix the Quiche Filling
In a bowl, whisk together 2 eggs and thick yogurt until smooth.
Stir in shredded cheese, baby spinach, and crispy bacon.
Season with salt and pepper to taste.
Step 3: Assemble and Bake
Pour the filling over the baked rice paper crust.
Bake for 30 more minutes at 190°C (375°F) until the quiche is set and golden.
Let it cool for a few minutes before slicing — the edges will be crispy, and the inside will stay creamy and cheesy.

❓FAQS
Pair with a fresh side salad for brunch.
Store in the fridge for up to three days.
Reheat leftovers in the air fryer for 3–5 minutes to bring back the crunch.
RECIPES TO TRY NEXT TIME
HUMMUS PITA (THE BEST BLT PITA)
CREAMY PASTA WITH GOATS CHEESE
Did you make this recipe? Let me know what you think by leaving a ★★★★★ star rating & comment below. It genuinely helps me & I really appreciate your support! Nikki 💚
Print
BACON AND CHEESE QUICHE (MADE WITH RICE PAPER!)
- Total Time: 30 minutes
- Yield: 1 small quiche 1x
- Diet: Keto, Low-Carb
Description
This Bacon and Cheese Quiche made with Rice Paper is crispy, cheesy, and so quick and fuss-free to make. Forget traditional pastry, rice paper makes a crustless quiche that’s golden, and makes the perfect mini quiche for brunch, a delicious breakfast, or even a savory snack.
Ingredients
3 rice papers
1 egg, beaten
FOR THE FILLING
2 eggs, beaten
80 g thick Greek yogurt
60 g grated cheddar cheese
a small handful of baby spinach
¼ cup cooked, crispy bacon sliced into small pieces (you can use ham, chicken, or crispy tofu)
Instructions
Preheat your oven to 190°C (375°F).
Dip the rice papers one by one into the beaten egg until soft and pliable.
Layer the soaked rice papers in your mini quiche tin or pie dish to form a base.
Bake for 10 minutes until slightly golden and firm.
In a bowl, whisk together 2 eggs and thick yogurt until smooth.
Stir in shredded cheese, baby spinach, and crispy bacon.
Season with salt and pepper to taste.
Pour the filling over the baked rice paper crust.
Bake for 30 more minutes at 190°C (375°F) until the quiche is set and golden.
Let it cool for a few minutes before slicing — the edges will be crispy, and the inside will stay creamy and cheesy.
Notes
Add extra veggies like mushrooms or bell peppers for a heartier breakfast.
Use mini muffin tins to make bite-size mini quiches — perfect for brunch platters.
Serve warm with a drizzle of hot sauce for a spicy breakfast option.
Swap cheddar with gruyere or mozzarella for a different flavor.
- Prep Time: 10 minutes
- Cook Time: 20 minutes
- Category: Appetizer, Dinner, Family Meals, Lunch, Main Course
- Method: air fryer
- Cuisine: American


Comments
No Comments